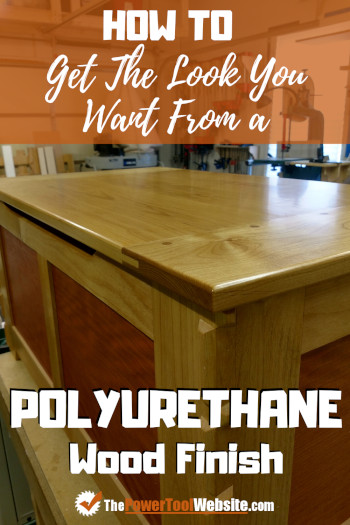
How To Get The Look You Want From A Polyurethane Finish
A polyurethane finish is a great way to add long-lasting durability to your projects, but there’s not exactly a one-size-fits-all process for applying it. And getting the final look you really want is not always that simple.
I’ve covered my main ways of applying a regular, oil-based polyurethane finish, and a wipe-on polyurethane finish, which I’ll link to below.
But what happens when your finish, doesn’t, well, “finish” just right? Sometimes it may be more glossy than you’d like. Other times, flatter, or not glossy enough.
Sometimes it may feel rough, or have an uneven sheen to it. If this is the case, you may be getting frustrated or losing faith in this product…
But don’t worry, all of your work was not in vain. You can still get the look you want for your wood project, without stripping the finish away and starting over.
It all starts with basic understanding of a few key points:
- On the far end of the ‘glossy’ spectrum, you have extreme gloss which is how you get a mirror finish.
- On the other end, you have flat, which would be like a chalkboard. Usually we want to be somewhere in between.
- Glossy is achieved by having an incredibly flat, smooth surface that reflects light evenly across.
- To get a flatter finish, you must break up the surface (even at the microscopic level) so the light reflects in an uneven way.
- Regardless which way you go, the finish must be thick enough that you do not see the wood grain reflecting in the light. If you do, it’s too thin, apply more coats.
So how do you achieve the perfect look with a finish like polyurethane?
Below I’ll cover a few methods for flattening, and glossifying (probably not a real word).
And just so you know, I like to keep things simple – unscientific.
So I may not come across like a woodworking professor or youtube professional. But stick with me, try these methods out, and let the results speak for themselves.
Make Your Polyurethane Finish Thick Enough
If you’re applying a wipe on poly finish, and doing it the way I teach here, you may find that you’re left with an ideal look after several coats, and nothing more is needed.
Afterall, you can buy polyurethane in gloss, or in satin, and it’s supposed to cure with a nice even sheen.
But sometimes, the finish simply does not look good, and you’ll need to do some manual manipulation to achieve your preferred look.
So once you realize you’ll be “manipulating” the finish, start adding more coats. You want to build up a good, thick finish to work with.
If you’re brushing on regular polyurethane, you could probably go for 5 coats (total), or more. If you’re using wipe-on poly, you may want to go up to 10 or even 15, depending on how thin you’re laying down each layer.
Flatten The Surface
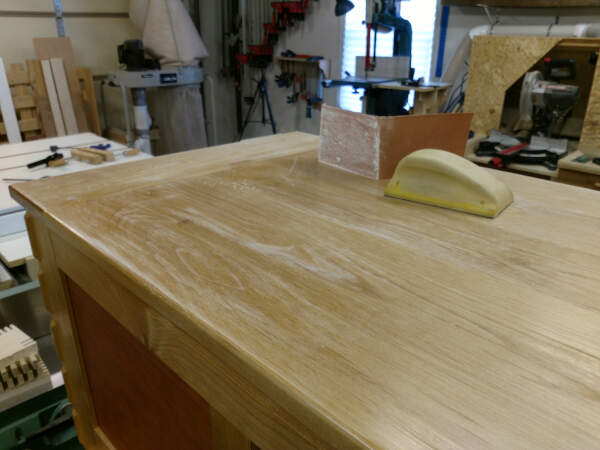
Next you’ll be doing a little sanding, and before you begin you’ll want the finish to be really dry.
I keep reading how you have to wait for it to fully cure, which could take weeks. But I don’t personally do that, I don’t have that kind of patience.
I’ll give a fresh coat a couple days to dry. If it’s wipe-on poly, 1 day. Then I jump right into the sanding.
Once it’s dry, use something around 320 grit sandpaper.
If you want, you can lubricate the sandpaper with soapy water. If wet sanding, make sure you use wet/dry sandpaper.
Either way, you’ll sand the finish to knock down high spots, dust nibs, and rough areas.
And use a sanding block too, this will help keep the surface flat.
Do not spend a lot of time sanding, you don’t want to risk going through the finish and exposing raw wood. Be very careful around the edges and corners, it’s easy to go through the finish here.
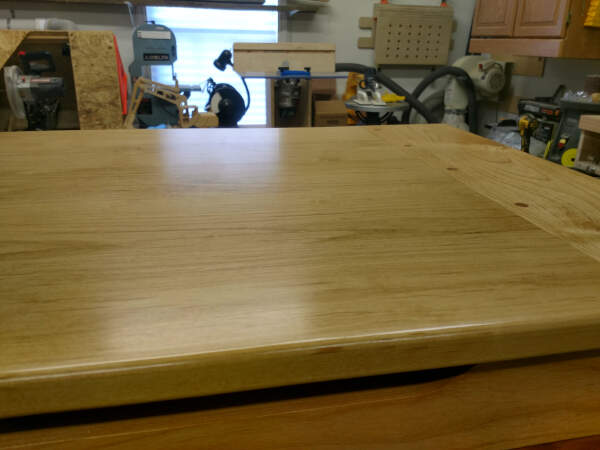
Do a little at a time, stop and check progress, and do this until the entire surface is glass smooth and seems flat.
If you have shiny areas, these are low spots and the finish is not yet flat. So keep sanding until you have an evenly dull appearance in the finish.
Repeat the process to make it a bit smoother, this time using a 600 grit wet/dry sandpaper.
And like before, you can use soapy water for lubrication. Just wipe the mess up with paper towels.
If you’re dry sanding, wipe off the polyurethane sanding dust with a damp paper towel.
At this point you’re ready to either move on to a coat or 2 of wipe on poly, or you can skip that and start rubbing out the finish you want, which is covered below as well.
If You’re Using Wipe-On Poly
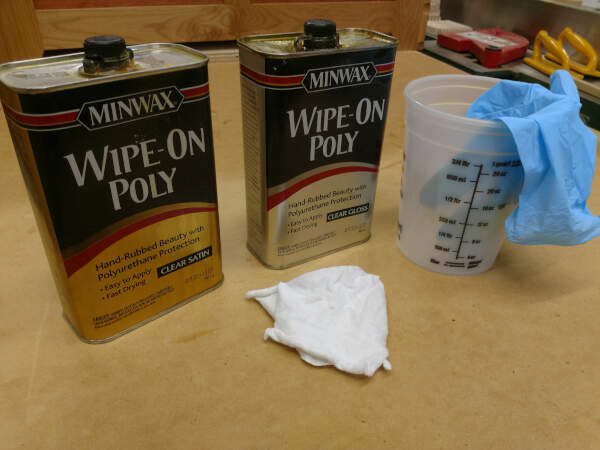
I like to keep things easy, and efficient. So what I do, is I keep “Wipe-on Poly” (oil-based) on hand. I keep stocked up on “Satin” and on “Gloss” versions.
And yes, this only works if you’re applying it over oil-based poly (not water based).
After sanding and flattening to 600 grit sandpaper, you’ll apply a very thin coat of wipe on poly.
This works really well on small surfaces, because it’s easy to cover the surface quickly and evenly.
You MAY struggle a bit on larger surfaces, just because it’s hard to cover the entire area quickly.
But you’re putting it on so thin, don’t be scared to try it. A little light sanding can repair any mess-ups.
The trick though, is to apply it thin enough that it dries quickly, leaving very little time for any dust to settle on it.
You’ll move fast, using a clean cotton rag like t-shirt material. Soak it pretty good with the poly so you hopefully don’t have to stop half way to re-wet the rag.
Then rub it on with the grain. If you see uneven levels of shine, or spots that look like you missed, just move on. This coat will start to tack up quickly, so you don’t go over areas again to fix them.
^^ That parts really important, read it again if you need to.
You’ll want to wait until the coat dries, see how it looks then, and do another quick thin coat if needed, to even things out.
This Wipe-On poly final coat works great on top of the flattened, sanded surface from the previous step.
And if you’re like me, you’ll find the “Satin Wipe-On Poly” product (by minwax) leaves a really nice satin sheen, which sometimes requires no addtional work..
But you don’t have to do this if you don’t want. You can skip it altogether and manually control the final look instead. For that, continue reading.
How To “Satin” Your Polyurethane Finish
So I just used the word satin as a verb… but I think you know what I mean. We’re making the polyurethane finish end up with a nice satin sheen.
Once you’ve sanded the finish down and all the rough spots are gone, and everything is glass smooth, now you can give it an even sheen.
With a satin look, it will reflect light, but in kind of a hazy way, not reflective like a mirror. And any sheen at all only looks good if it’s even. So that’s what we’ll accomplish here.
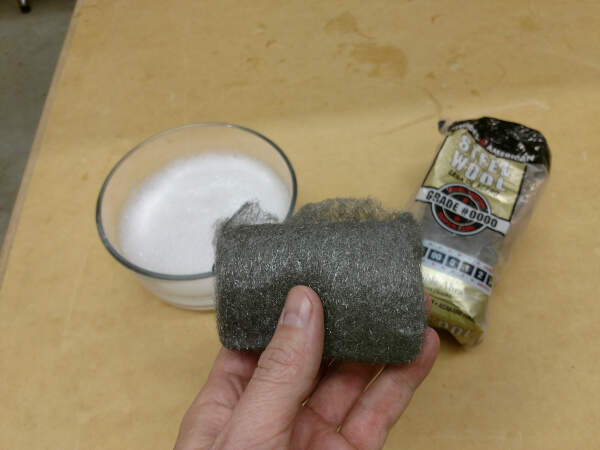
Take some steel wool (found at any home or hardware store). You’ll want the super fine grade of steel wool, which is “0000” (pronounced 4 ought).
NOTE: Not all steel wool is made the same. If what you find at the hardware store doesn’t leave great results, don’t lose faith. There are online woodworking and finishing websites that sell high quality 0000 steel wool, better suited for fine woodworking.
Use soapy water to lubricate it, just dip the wool in a cup of soapy water, this reduces drag and leaves better results (so I’ve read).
Now rub out the finish. The steel wool works it’s magic and leaves a nice, even looking sheen.
You can do this in a circular motion, but make a few final passes with the grain to reduce visible scratches if there are any.
Do this over the entire surface until it looks even and reflects light with a bit of a haze. Use paper towels to remove the soapy water.
Once that’s done, your finish is complete!… Unless it went too hazy, and you want to up the gloss a bit… For that, keep reading.
How To “Gloss” Your Polyurethane Finish
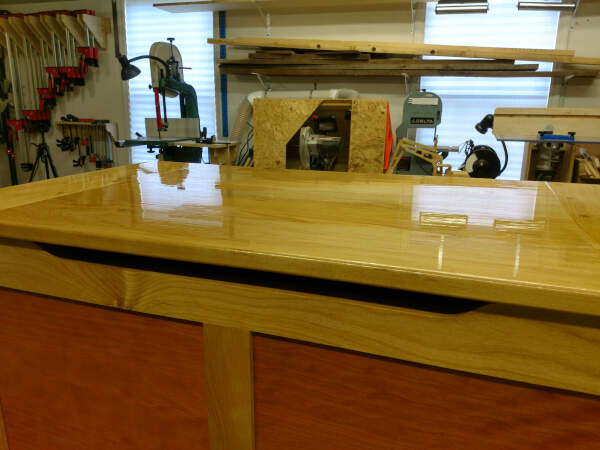
If you want to increase the gloss level of your finish, you’ll rub it out to a super smooth surface, the smoother, the glossier.
Rubbing out with steel wool leaves microscopic scratches. This breaks up the light reflecting off the surface.
Instead, you’ll use something else to smoothen the surface and remove these scratches (or the sanding scratches from before). Like I said, the smoother, the glossier.
To do this, you can rub out the finish with an abrasive pad. Sometimes they’re called scouring pads. It’s those scotch brite type of pads that you can find at hardware stores.
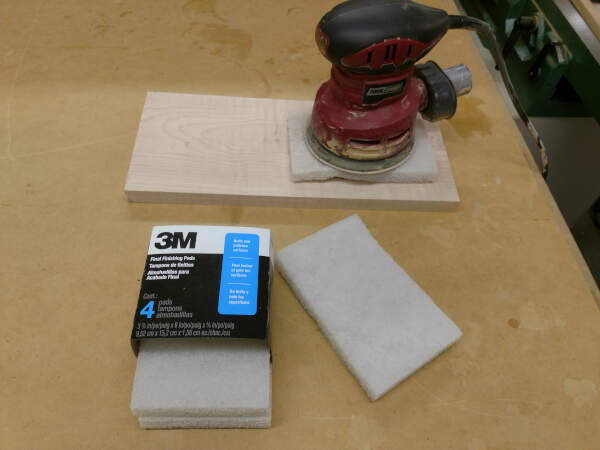
Get the finest you can find. They may come in grades like “Final Finishing” or “Very Fine”. If you can find both, get both. They may each leave different levels of gloss.
Now you can buff the finish with the scouring pad alone. For irregular surfaces or areas with inside corners, you may have to do this by hand.
But on an open, flat surface, you can put the pad on the finish and use a random orbital sander right over the pad.
Turn it on, and this works kind of like an electric buffer. Just keep buffing until you rub out the nice, high-gloss look you want.
Extra “Fancy” Gloss
You can increase the gloss level even further, and now we’re talking mirror-like reflective, glass-looking finishes.
For this you’ll want to move into automotive grade polishing and buffing.
This should be done with your random orbital sander and foam pads. So it’s not practical for some projects, but decorative boxes or fancy table tops may fit the bill.
You’ll use polishing compound first, with a polishing foam pad. They sell these as hook-and-loop (velcro) so they’ll stick right on your orbital sander.
Then wipe off the compound, put on a new pad, and then use the buffing compound. This will leave you with that high-gloss surface you see on automotive paint jobs.
Like I said, this isn’t practical for most woodworking projects. But it can be fun and rewarding when used on the occasional, decorative craft.
Try it out on a jewelry box, a chess board, or maybe even a small side table.
Be sure to sign up below to join my newsletter, I’ll keep you updated on new blog posts like this one!
Related:
How To Apply A Polurethane Finish
How To Apply Wipe On Poly
Woodworking Finishes 101