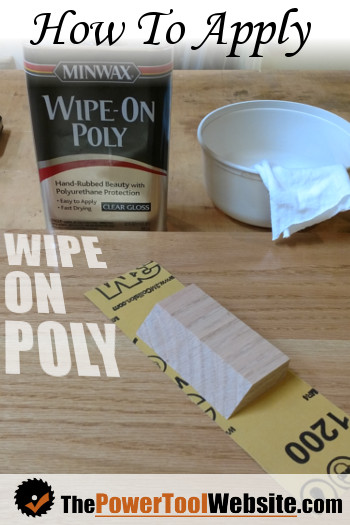
How To Apply Wipe On Poly For A Professional and Beautiful Finish
A great hand-rubbed finish creates a really nice and professional looking piece of furniture. Sometimes it’s just not practical to brush on poly for various reasons. Or maybe you haven’t learned and perfected that technique. Whatever the case, you may be better off learning how to apply wipe on poly.
I’ve finished most of the furniture I’ve built with wipe on poly. It’s easy and it looks great. The real downside is that the layers are so thin, it’s a slow process. I usually plan on finishing a piece of furniture for a week. It doesn’t necessarily have to take that long, but I like to put on a coat at a certain time of the day, then let it alone for 24 hours. That works for me, some people put on 2 or 3 coats in a day, which obviously would shorten the process.
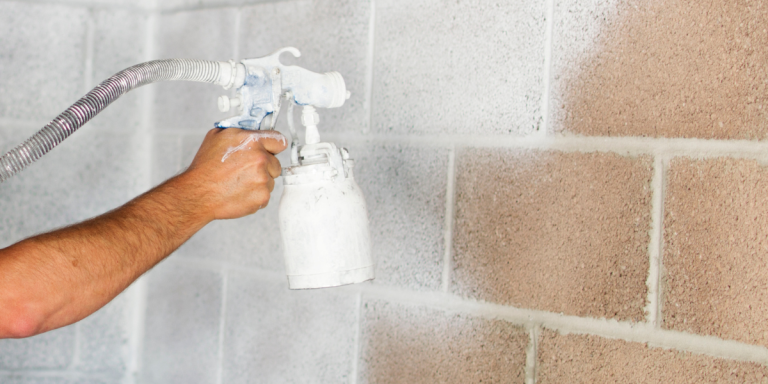
I prefer the wipe-on poly over a spray finish just because I’m not really set up for doing a spray finish, like lacquer. I don’t have the required ventilation in my shop for spraying, and I don’t really have space outside my house to set up. Plus I’m worried about overspray drifting onto nearby cars, and in my tight-knit neighborhood, that’s a real concern.
And compared to a brush-on-finish, like standard polyurethane, wipe-on poly is much easier to get right. Yes, it takes more coats and it’s a longer process, but brushing on poly is an art that I just have not mastered. I’ve done it, and it comes out good. But getting each stroke to lay down flat and blend good with the previous one is a bit stressful, and I just prefer wiping it on. You really can’t go wrong doing it this way.
Here’s what I use when I apply wipe on poly to a finished piece of furniture:
- Minwax clear gloss wipe on poly
- Minwax satin finish wipe on poly
- White, lint-free cotton rags
- Nitrile Gloves (latex gloves will disintegrate during use)
- Tupperware bowl
- Flat sanding block (scrap piece of hardwood)
- 1,200 grit wet/dry sandpaper
Wipe On Poly – Prep Work
First thing you need to do is prep the work area. Make sure there’s no dust on the furniture, or around it. You don’t want to stir up any dust while applying your finish.
To do this, I usually used compressed air and blow off all parts of the furniture to remove the dust. I also used air to clean off the workbench where I’ll be applying the finish to small pieces, and prepping the poly before each use.
Then I let the dust settle for an hour, and blow everything off again. Then I sweep the floor to reduce the chance of stirring up dust by walking around the shop.
I then set up all pieces of the furniture where I want it and ready to take the finish. Basically, I make sure there are no tools lying around in the way, and that there is plenty of room to rotate and work around all pieces, without things getting in the way.
How To Apply Wipe On Poly
A single layer of wipe on poly is very thin, compared to poly you brush on. So I like to apply 7 to 10 coats. Now this many coats of satin finish can make the finish look very mirky. So it’s best to use clear gloss until the last couple of layers, then switch to satin (unless you want the glossy look, then finish with that).
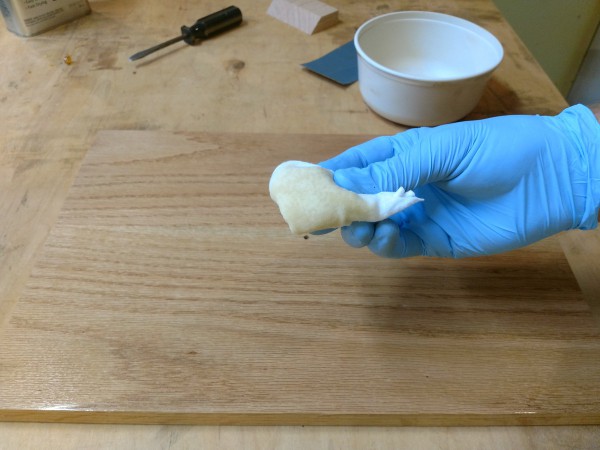
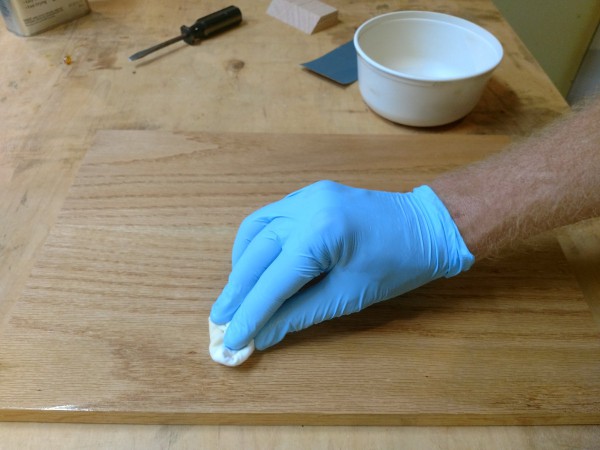
So the process is basically this. On day one, I take a rag and I apply a coat everywhere on the furniture. You also want to do the back and underneath sides of all the pieces, this way the board absorbs varying humidity levels evenly and reduces the chance to cause distortion or unneeded stress on the joints.
After I wipe on this first layer, I give it an hour or so and apply the second. The first layer really gets absorbed quickly, so you don’t have to wait long for the second.
Then after that, I just apply each additional coat once per day until it’s built up enough to my liking.
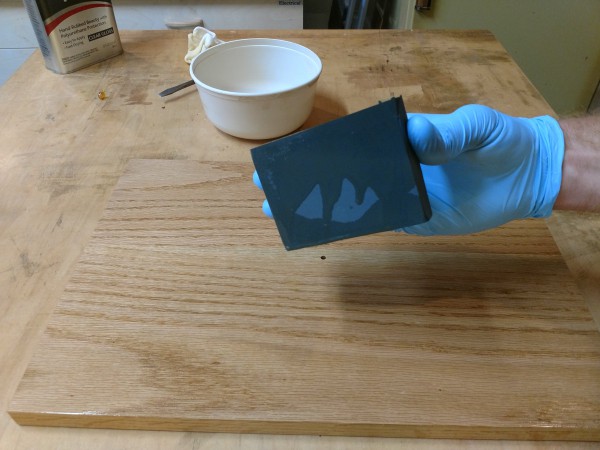
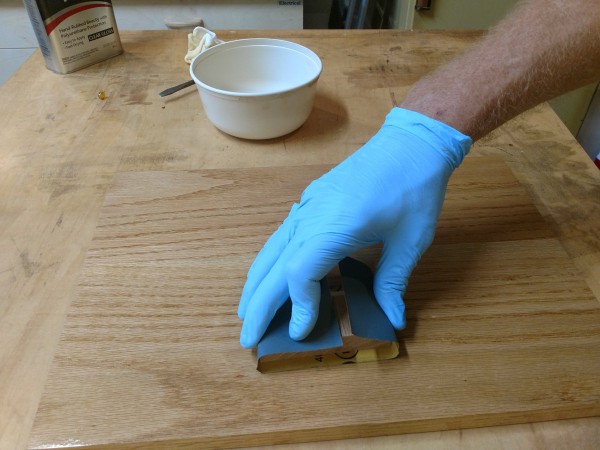
But after the 4th or 5th coat, I take my 1200 grit wet/dry sandpaper and apply the coat using the sandpaper with a block of wood. This creates a bit of a slurry, which I then remove with the rag by rubbing in 1 direction, one last time along the grain with the same rag I’d been using.
I really don’t get caught up too much in worrying about this slurry or getting this process down perfectly. It’s kind of messy, and I always end up getting it splattered around a bit. But that’s just me, and the finished product still comes out really nice.
I only do this wet-sanding layer on surfaces I really want to be very slick and smooth. So anywhere that will get touched a lot I do this. These parts are the drawer fronts and at this point, I’ve already applied 4 layers with the rag. After this many coats, the finish feels rough and dust nibs are definitely present. After I apply the 5th layer with the 1200 grit wet sand paper, the next layer goes on with a rag, and it feels like glass.
Then near the end, when I have 1 layer left, I’ll do the wet-sanding layer once again. This is usually enough to really make the final finish super smooth, and with a deep reflective sheen.
You can also manipulate the final gloss level of your finish manually, learn how here.
Final Notes
That’s my guide for how to apply wipe on poly. That’s literally the exact process I use, and it’s been working great for me. Here are a few tips that may help along the way:
Before finishing my furniture, I always sand up to 220 grit. This is plenty smooth for a great finish. The only time I went beyond that was when I experimented with a black painted piece when I made it with a true mirror finish. That required 1500 and 2000 grit wet sanding. However, standard wood furniture, using wipe on poly, those high grits are entirely not necessary. 220 is fine.
Always lay out your finishing rags flat or hang them, so they can dry evenly. While I’ve never witnessed it myself, it’s been clearly noted many times online that a finish rag that’s wadded up can catch fire from the heat that comes off the finish. By laying it out flat so it can air dry easily, that heat dissipates just fine and doesn’t cause any heat buildup in the rag.
Dust nibs are really noticeable in a finish. So do your best to keep the room entirely dust free. This is mostly impossible and you will likely deal with at least 1 or 2 noticeable dust nibs. The best thing to do is apply a poly layer with sandpaper afterward. This will knock it down and you’ll never even notice it again.
Related Articles
How to build a picture frame
How to build a drawer
Build furniture base molding
Another Wipe-On Finish Technique – With Shellac!