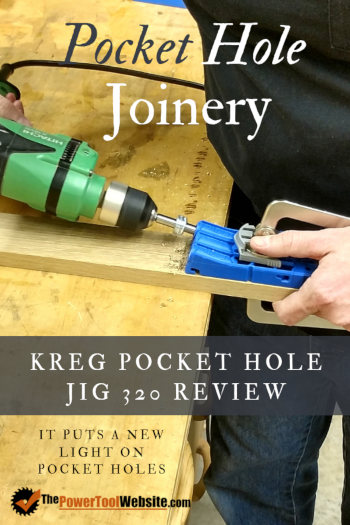
Kreg Pocket Hole Jig 320 Review – Don't Buy Until You See This
Would you like to get ahold of a simple, low-cost, effective pocket hole jig? One that is quick to set up, accurate, and adaptable to any project? That’s what came to mind as I read about the all-new Kreg pocket hole jig 320, so I went ahead and ordered one so I could review it for my readers.
I’m going to give you my complete and honest review, all pros and cons included. Plus I will be comparing it to Kreg’s trademark K4 pocket hole jig, as well as their Mini pocket hole jig.
In this article, I’ll show you exactly what’s included with the new pocket hole jig 320, and my personal thoughts on the build-style and integrity of the design and craftsmanship.
I’ll also show you (with pictures) how to set it up, how to use it with Kreg clamps, and how well the pocket holes turn out after use.
I’ll then be sharing what I learn in the process, with pros and cons of each step, as well as how it stacks up against my other Kreg pocket hole jigs.
Finally, I’ll be sharing my final thoughts on who this jig is good for, and hopefully you’ll be able to determine if it’s the right pocket hole jig for you.
The New Kreg 320 Pocket Hole Jig
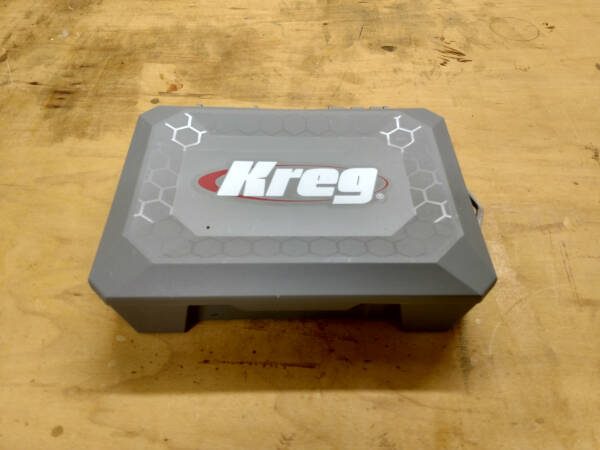
This pocket hole jig from Kreg comes in a nice, durable compact case. It’s a great joinery tool for DIYers and beginner woodworkers. With that said, even still after 10 years of project building, I find plenty of uses for pocket holes in many of my woodworking projects.
What makes this jig unique is that it attaches to a clamp and has self-aligning positive stops, making for a quick and hassle-free setup. Here’s a couple shots of what’s inside when you first open it.

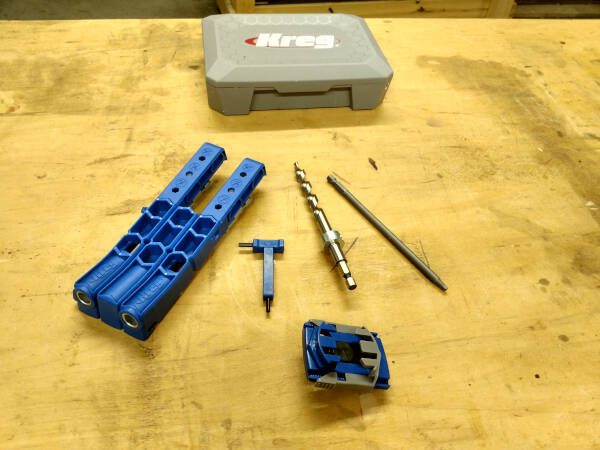
It features two drill guides and a spacer in between. It comes with full instructions and even a couple small boxes of pockets screws. Granted, these won’t get you far, but if you happen to buy this kit without buying extra screws, at least you’ll have something to get you started.
The jig’s build-style is just what you’d expect from Kreg; It’s almost entirely plastic, with the exception being the drill bit guide sleeves.
But it still feels sturdy, and very solid.
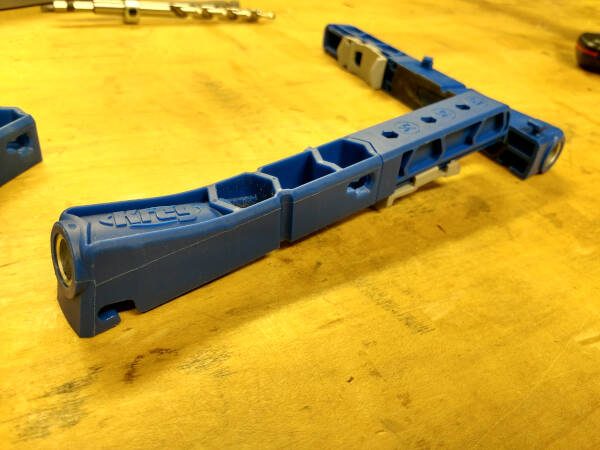
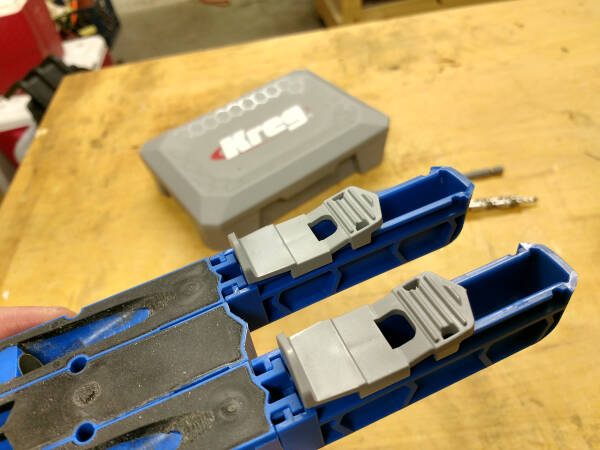
The jig itself comes apart into 5 pieces and can be re-attached so you can drill closer pocket holes for narrower boards and tighter locations. This becomes very helpful for furniture repair projects.
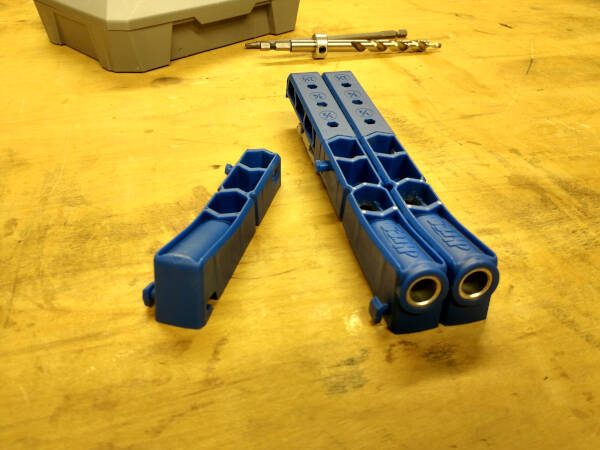
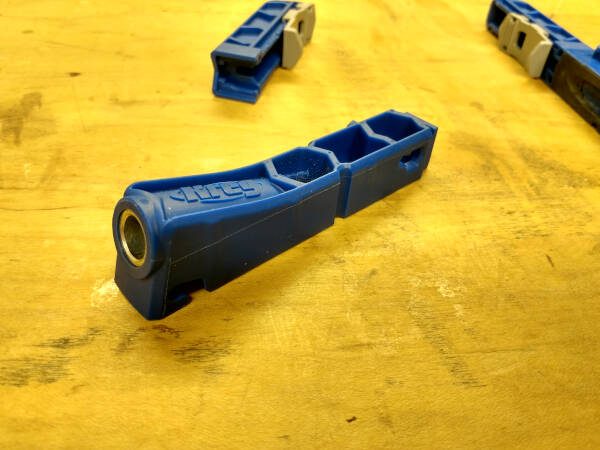
When taking it apart and re-attaching the pieces, it uses a ‘slide and then rotate’ function to lock and unlock. It feels very sturdy once it’s locked together. There is no play or looseness about it.
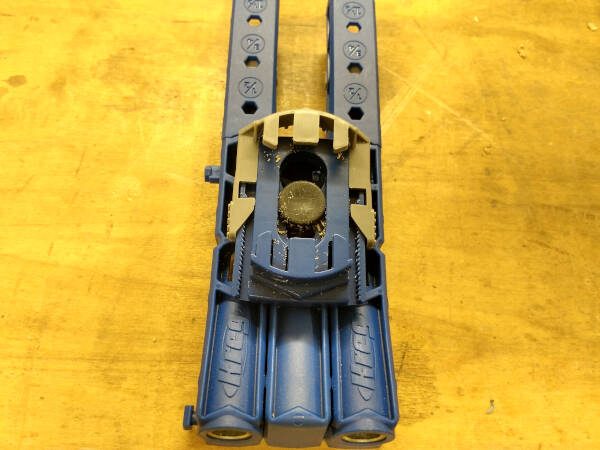
The top of the jig has openings to support the clamp pad adaptor:
The clamp pad adaptor has a rubber “anchor” that fits snug into these openings. The anchor will fit into this upper right opening:
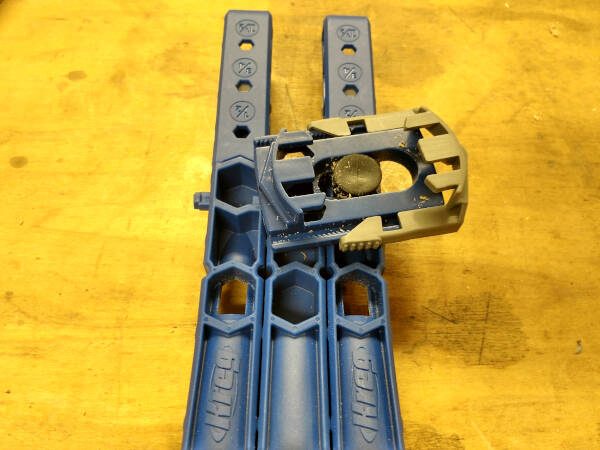
Or it will fit into the center opening:
Here’s the clamp pad adaptor attached to the 6” Kreg Wood Project Clamp:

This part unfortunately didn’t impress me. First, take a look at the design of the Kreg clamps. Notice they have one pad that is larger than the other, which is helpful in reducing the chance of marring your project:
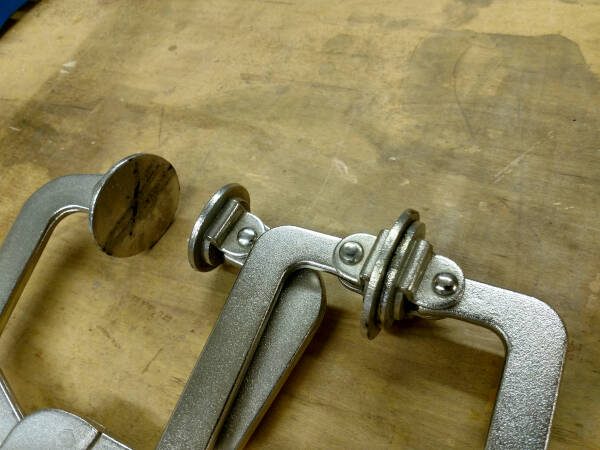
The Kreg pocket hole jig 320 clamp adaptor fits perfectly on the large pad, as though it was made for it:

It does NOT however fit properly on the smaller pad of the clamp:
This means the small pad is what will be clamped against the wood… Seems illogical, but it will still get the job done.
Other Kreg 320 Pocket Hole Jig Features
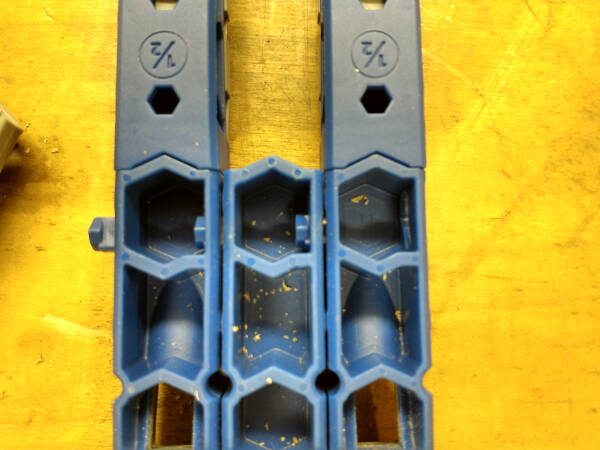
The Positive Stops
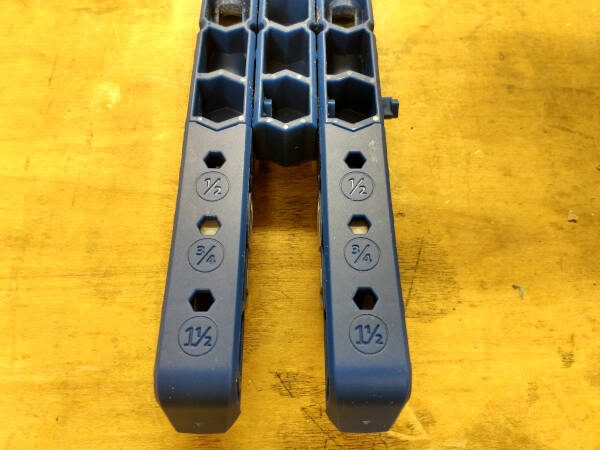
These are simplified with only 3 positions, compared to the K4’s 9 positions… The 320 jig works on board thicknesses from ½” to 1-½”. The 3 positions are for ½”, ¾”, and 1-½” stock. (13mm, 19mm, and 38mm respectively).
Set up is a breeze. You push in and slide the alignment stops. The flexion in the plastic locks and holds them in place:


The Easy-Set Stop Collar

I love this feature of the Kreg 320 pocket hole jig. It makes lining up the stop collar on the bit quick and painless.

The old way required visually lining up the bit and the collar with Kreg’s collar guide on the old jig. This new “Easy-Set” version is just that, easy. This makes it quicker to set up.
The kit also comes with a nice allen wrench that is blue in color. I actually really like this because many times, the regular allen wrench with the other pocket hole jigs would end up next to other allen wrenches where it would blend in. This blue allen wrench will be easy to spot and I’ll always know I’m grabbing the right one for my Kreg pocket hole jigs.
Rubber No-Slip Base

This is honestly one of my favorite features. If you know anything about my woodworking jigs, you may have noticed that I like no-slip surfaces. This is incredibly helpful for some jigs.
With the rubber base on the Kreg 320, you can be more confident that your jig will not slide while drilling the pocket holes.
If you’ve got any experience using regular pocket hole jigs, you have surely found that at times the jig DOES want to slide, and this can leave you with less-than-perfect pocket holes. The rubber base on the new Kreg 320 jig fixes that problem.
How To Set Up And Use Your Kreg Pocket Hole Jig 320
To illustrate setting the Kreg 320 pocket jig up for use, I”ll be doing it alongside the Kreg K4 jig, and the Kreg Mini pocket hole jig. This way, you can see how it’s done, and compare along the way.
Setting up the jig for use
Kreg Pocket Hole Jig 320

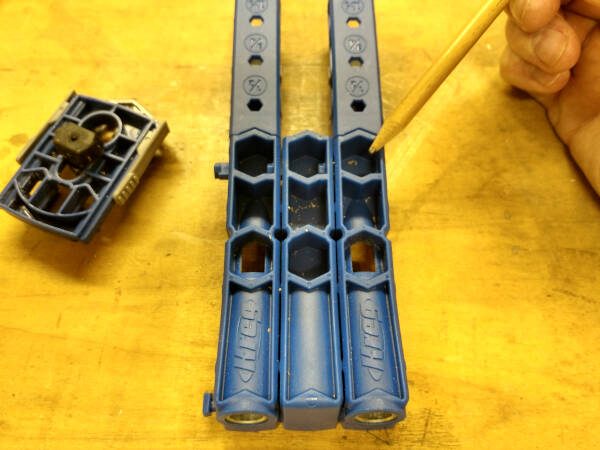
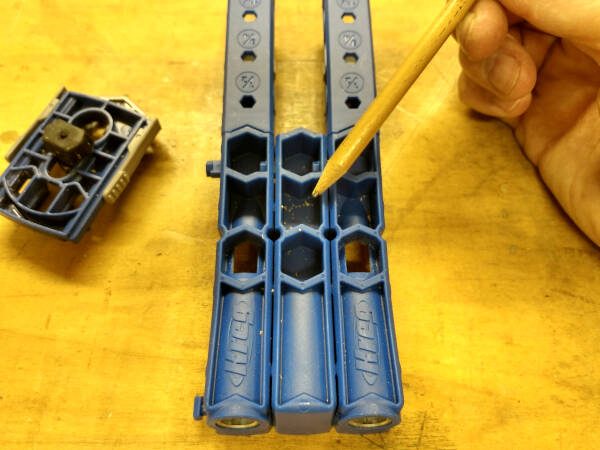
For this jig, you’ll need to assemble it depending on the spacing and the number of pocket holes you need. Your options are 1 hole, 2 holes 3/4” apart, or 2 holes 1-1/2” apart.
The alignment stops should be slid in place depending on the thickness of the board, and this takes about 2 seconds and is incredibly simple.
The included stepped drill bit and collar can be lined up very quickly by sliding the collar in place, using the markings right on the bit.
Attach the clamp adaptor to your Kreg project clamp and push the rubber anchor of the adaptor into the back of the jig.
Now it’s ready for use.
Kreg Mini

There is no “setup” on the jig itself. However, lining it up is a manual operation.
It does not line itself up on it’s own, you have to measure the distance to the end of the board and align it according to the chart that came with the jig.
The bit and collar are the same way, you’ll need to measure it’s location on the bit and tighten it down.
Overall it’s kind of a clunky process and takes more time, especially when you’re drilling multiple pocket holes, which is usually the case.
Kreg Pocket Hole Jig K4 (which will be very similar to the K5)

This jig is always set up for 1 hole, 2 close holes, or 2 not-so-close holes, which are fixed. The distances center-to-center measure 9/16″, 7/8″, and 1-7/16″ apart. It just comes down to how you line up the board in the jig.
Setting the depth is done with a little thumb screw and the fence slides up and down. It can be set anywhere between ½” to 1-½”, in ⅛” increments. This actually can slow you down as it’s basically too many choices. You really only need the main 3 (for most woodworkers and DIYers) as the 320 jig uses.
Set the bit and stop collar up by laying the bit in the slot on the jig, position it at the correct mark for the board thickness, then line up the collar and tighten down.
Now set the board in the jig and adjust the clamp head until it works for that thickness of board.
Now, it’s ready for use.
Clamping the jig to the work piece
Kreg 320 Pocket Hole Jig

The new 320 jig is a breeze, and you can easily line it up where you want it with one hand, while clamping it down tight with the other. The adjustable stops ensure you get the positioning just right, and since the clamp’s already attached, this step takes just a couple seconds.
Kreg Mini

This is the most tedious of the 3 methods. This jig must first be aligned, then held in place (without alignment stops) while using your other hand to line up the clamp and lock it down.
You will need to hold it as square as you can, at 90 degrees to the edge of the board. Now you’re set up to drill 1 pocket hole, with no exceptions. It’s a 1-hole jig only.
Kreg K4 Pocket Jig

This jig is designed to be stationary and you put the board into the jig, then clamp it in. You can also take the jig to the board, but it’s kind of bulky and that does not always work.
So setting up for drilling can be a task if you have to drill several pocket holes along the edges of several boards.You’ll need to put support blocks out on the ends of the boards to hold them level in your jig.
But drilling pocket holes at the ends of boards is a quicker setup, and that’s what’s pictured above.
Clamping it down for drilling is a breeze, as the clamp is already set and it’s built in, so there’s not multiple pieces to mess with.
Results
I can’t say any of the jigs perform exceptionally better or worse than the others, with one slight exception. I think the new 320 produces a cleaner pocket hole because the face of the jig has rubber on it, and that helps to create a closer contact than the other jigs.


In fact, as you can see in the 3 pictures above, the larger K4 jig left the ugliest pocket holes of the 3 jigs.
How The Kreg 320 Jig Stacks Up Against Its Predecessors
This pocket hole jig does a great job of simplifying and speeding up the pocket hole joinery process.
It really is easy to use and it’s very versatile, in that you can remove sections as needed. Plus it’s compact.
When compared to the stationary pocket hole jigs like the K4, I think it really does outperform in most regards, with the following exceptions…
I like how the stationary pocket hole jigs support smaller boards easily, holding them vertically, allowing you to drill downward to create the pocket hole.

With the new 320 Kreg jig, you’ll be drilling sideways, or in some cases back towards yourself. This is not a problem per se, but it can be a bit awkward.

Because of this, I can still see how the stationary style of the K4 may be easier to use when working with smaller pieces.
But when working with medium to larger sized boards, or working with plywood, it’s faster and simpler to move the jig from board to board, hole to hole, end to end.
And with the 320 Kreg Jig being attached to the clamp, this process goes smoothly and quickly.
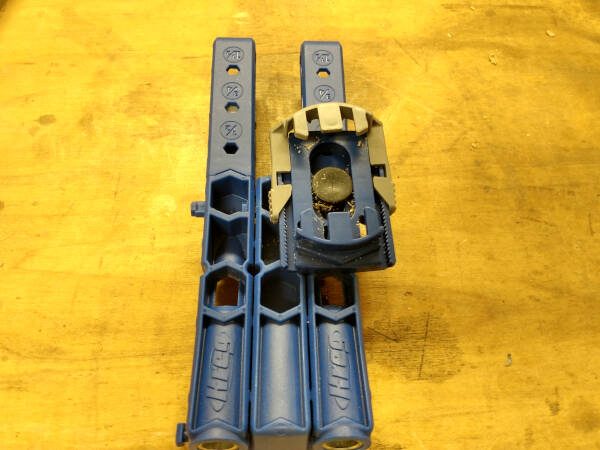
And as for the mini? Well the new 320 jig completely eliminates the need for the mini I believe. The mini has become obsolete. The mini is no more. Forget the mini.
In fact, here’s a shot of the 320 jig broken down into its smallest form, sitting next to the Kreg mini:

Need I say more?
Is the Kreg Pocket Hole Jig 320 Right For You?
I believe with most wood projects, you can get more benefit overall using the 320 pocket hole jig than you could from the K4 or K5 (These are the 2 larger stationary pocket hole jigs offered by Kreg).
But what about the projects you personally intend on building? Are you going to be building cabinets? Book cases? Tables? Benches?
These larger projects are definitely better suited for the Kreg pocket hole jig 320, no questions asked.
On the flip side, if your focus is smaller projects and you intend on working with smaller pieces of wood, the stationary style of the Kreg K4 or K5 jigs may suit you better.
Now how about bang for your buck… Well the 320 is less than half the price of the K4, and a third of the K5.
So in that regard, you really can’t go wrong with the 320. But before you make your decisions, let me list out all the pros and cons in my review roundup…
Kreg Pocket Hole Jig 320 Review Roundup – Pros & Cons
Pros
- Small – Easier to handle and store, and can fit in more places on your project and on your work pieces. It’s simply more versatile.
- Simplified – Easier and quicker to set up, and more accurate than other jigs with its handy alignment stops.
- Rubber base – Keeps the jig (or the work piece) from sliding while drilling the pocket holes.
- Versatile – Can be broken down into smaller pocket hole jigs, well-sized for tighter spots or narrow boards.
- Inexpensive – Currently the 320 Kreg jig sells for about $40, making it a very inexpensive joinery jig.
Cons
- Cannot support boards vertically, meaning you will be drilling sideways or back towards you.
- Can be a bit awkward when using it on small pieces. Better suited for medium and larger boards, and plywood.
- Requires you get the Kreg large-face clamp to get the full benefit of the jig, this will set you back another $20 or more depending on which kind of clamp you get.
You can buy the Kreg 320 Pocket Hole Jig here on Amazon << (opens a new tab)
Be sure to sign up below to get tons of beginner woodworking tips and tricks, plus free templates and project plans sent straight to your inbox.
Related:
Pocket hole joinery 101
How to cut perfect miters
Pocket hole picture frame project
Beginner woodworking tools list