Lacquer? Polyurethane? Get the Whys, Whens, and Hows, Right Here…
When it comes to woodworking projects, you have so many options and very few limitations. From the species of wood you use, to the type of milling used to create the boards, tons of joinery options, unlimited ways to personalize your project, variations of design ideas, and more.
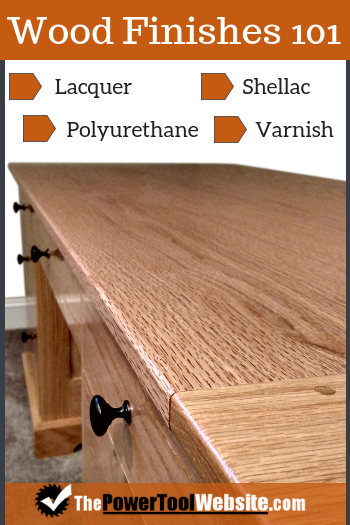
But when all that comes to an end, when all the options and all the choices you’ve made for your project nears completion, it starts to boil down to a much narrower list of choices – What finish should you use? There are a few more options than I list here, but these are the main choices that most woodworkers use when it comes to a good, long lasting protective finish –
- Polyurethane
- Varnish
- Lacquer
- Shellac
These are film finishes, meaning they leave a film that you can build up by adding more coats. There are variations within these 4, but I won’t be diving into that many details, as that’s a very broad topic to try and cover in one article.
For a more generic overview of finishing options, see Wood Finishes – Choose The Right One For Your Wood Project.
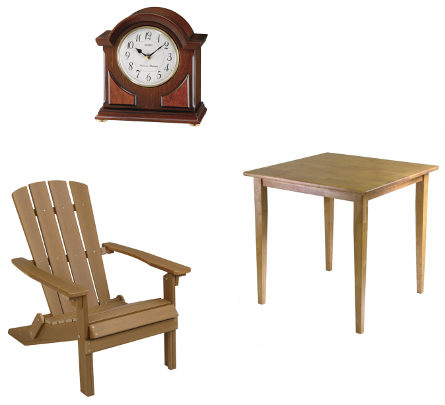
But anyway, I’ll break these 4 woodworking film-type finishes down in a way that you can easily see the differences. My goal here is to help you decide on a finish based on the what, the why, and the where. What are these finishes capable of, why ever choose one over the other, and where will the final project end up being used. For example, a kitchen table may require a different finish than a mantle clock, which would differ from an adirondack chair.
NOTE >> Not all projects will require one of these protective film finishes. In some cases I use an oil finish, which offers much less protection, but still leaves a beautiful look, and is one of the easiest to apply. See what I did on this picture frame (opens a new window). Scroll near the end to see before and after using boiled linseed oil.
But for this article, we’ll focus on the 4 main film-finishes listed above, so you can stop stressing about which finish to use, and start cranking out more projects.
Polyurethane
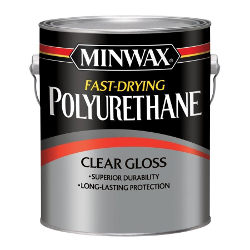
This is a curing finish, which means it undergoes a chemical reaction as it dries. This reaction cannot be reversed, making it overall harder to repair, but at the same time, more durable.
Polyurethane is basically liquid plastic, and some people feel like the final look is almost too much like plastic, and they may not use it for ‘fine furniture’ projects. That’s just a matter of preference. I personally use polyurethane on almost all my projects. I believe using the satin variation eliminates the plastic look.
You can get polyurethane in oil-based or water-based. Water based is faster to cure, and less toxic when applying, but also slightly less durable than oil-based.
The finish can be from a gloss, down to flat. Polyurethane is naturally glossy, so the manufacturers add a flattening paste to reduce the gloss. You’ll find that this paste will settle at the bottom of the can, so before applying a flat or satin polyurethane finish, stir it well. If you do not, it will cure with a high gloss.
Never shake polyurethane! This adds bubbles that can ruin a coat and will require sanding to fix.
Polyurethane is very resistant to wear, scratches, stains, chemicals, and heat.
Great for
- Bar tops and wood counter tops
- Desks, chairs, and even floors
- Utility surfaces (just about anything in a wood shop)
- Any surface that will get a lot of traffic and action
- Any surface in the kitchen that takes heat and chemicals
- Coffee tables or end tables that may get hot mugs set on them
Because it dries harder than say a varnish, it’s not the best option for outdoor furniture, as anything outside will need to have a bit more flexibility.
Polyurethane is harder to apply, as it’s easy to get bubbles and brush strokes. You can thin it with mineral spirits to help. It can be thinned down to the point you can wipe it on (see how here), which is actually very beginner-friendly and simple. Coats will dry faster and reduce dust nibs, but you’ll also have to apply more coats compared to unthinned brush-on polyurethane.
Read this article to see how I apply polyurethane using a foam brush.
When applying it can help to do some light sanding between coats. This helps ensure a nice flat, smooth finish, but also creates a better bond with each coat. This is because each coat of a curing finish is essentially it’s own coat. This differs from ‘drying’ finishes, as their coats chemically blend together.
As you apply your coats, you may find the finish isn’t looking just right. If that’s the case, then check out how to get the perfect look from your polyurethane finish here.
Varnish
Like polyurethane, Varnish is a curing finish. Some varnishes may even contain polyurethane. They are very similar and some people even use the phrases interchangeably.
Varnish is typically a glossy finish, but flattening agents can be added. Be sure to stir well when using these flattening agents.
Because of its high ratio of solids, it is a very durable finish, resitant to wear, scratching, moisture, stains, and heat. It’s actually the best finish for outdoor projects as it’s got an incredible resistance to moisture compared to other finishes, plus it’s got some flexbility which helps with the natural expansion and contraction of outdoor wood furniture.
Great for
- Outdoor furniture
- Outdoor trim work
- Boats
- Decks
- Beach furniture
For application it’s best to use a natural bristle brush. Like other curing finishes, it’s best to sand between coats for proper bonding.
As an oil based finish, varnish will leave an amber hue in the wood which darkens over time.
Spar varnish or marine varnish is the best choice for uv protection and flexibility. These are great choices for those building outdoor furniture with pine.
Lacquer
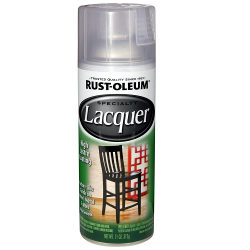
This is what’s called a drying finish (as opposed to curing). It does not undergo a chemical process over time, it simply dries as the solvent evaporates. This means by adding more solvent, the finish becomes almost like new, meaning it’s easy to repair (but overall less durable). This also means each successive coat partially activates the previous coat, making it blend well without any required sanding between coats.
One of the biggest benefits to using lacquer is its speed. It is a spray-on finish that dries fast. Both of these attributes means each coat goes on fast and the overall application takes a fraction of the time that film curing finishes take.
Also because of the speedy dry time, dust becomes less of a problem when compared to polyurethane and varnish. This is because the longer the finish remains wet, the longer the time frame for dust nibs to settle in.
Great for
- Production type projects
- Quick simple projects that need some basic protection
- Anything you want a fast finish on
Lacquer is less resistant to scratches, heat, and solvents than other finishes. This is the main trade off when using lacquer, you get the expedited application, but the final results are reduced durability.
Shellac
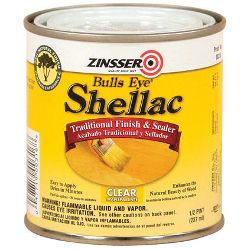
This is a completely natural finish, making it ideal for any project where you want zero toxicity (like salad bowls and children’s toys). It’s natural because it comes from the female Lac bug, and that’s it. It’s so safe, it’s even used as a coating on some candys.
Shellac is a drying finish, like lacquer. So similarly, it is easier to repair, though less durable than other finishes.
It makes for an absolute beautiful finish, and is easy to apply, usually done by rubbing it on, or by spraying. Depending on the process you use and the specific steps you take, the final sheen can either be satin, or a high gloss. For example, when rubbing the finish on, the final step may call for rubbing the finish out with steel wool. If you apply some paste wax and rub it out enough, you can get a high gloss.
I prefer the look of shellac on any kind of fine furniture using a dark wood. This finish is absolutely gorgeous and doesn’t take very long to apply. It also works well for repairing antique furniture.
Great for
- Fine furniture projects
- Repairing antique furniture
The downside with shellac is that it’s got a short shelf life, so you can’t keep it in your finishes cabinet forever. Some brands claim to work well for 3 years after manufacturing, others may only last 6 to 9 months. How you store it makes a difference, it should stay in a cool, dry environment, sealed up from the atmosphere to avoid oxygen, as this is what really degrades the integrity of the shellac.
Also, it’s not as durable of a finish as the other kinds. Shellac does not hold up well against heat, chemicals, and regular wear.
Learn more about shellac, including how to use it: Shellac Wood Finish – What It Is And How To Apply It.
What Next?
As you can see, there are different finishes for different applications.
When you start shopping for any of these finishes, you’ll find there are a ton of options and variations of each.
The information on this page is a general guideline of the very basics of each kind.
But different manufacturers have created various concoctions and advertise them as a finish designed for specific uses.
Don’t be afraid to try these, but also do your homework.
I find it’s usually best to know what I want before I start browsing around, this helps keep me from getting sold on something I otherwise know nothing about.
Related
How To Apply Wipe On Poly
How To Apply Regular Polyurethane
Food Safe Wood Finishes
Be sure to sign up below to get beginner woodworking tips, guides, and free plans sent to your inbox from time to time.
Sources
https://refinishingfurniture.net
https://www.diynetwork.com
https://www.bobvila.com
https://homeguides.sfgate.com
https://www.housepaintingguide.org
https://www.pittsburghsprayequip.com