Designing for Countersinking: Video Tutorial and Guide –
In this video we discuss considerations when designing your parts for SendCutSend countersinking services. Countersinking is available on the following materials:
- 5052 Aluminum (.125-.500)
- 6061 Aluminum (.125-.500)
- 7075 Aluminum (.125-.500)
- HDPE (.125-.500)
- UHMW (.125-.500)
- Delrin (.125-.500)
- ABS (.125-.500)
Before you submit your countersink part, watch the video tutorial below to make sure you’re designing with a few considerations in mind.
Designing for Countersinking Video Tutorial
When designing a countersink into your part there are four major things we need to consider. Three of which will be determined by the screw type, and one that is not determined by the screw type.
Four things to consider when designing for countersinking
- Included angle of countersink
- Major diameter
- Minor diameter
- Material thickness
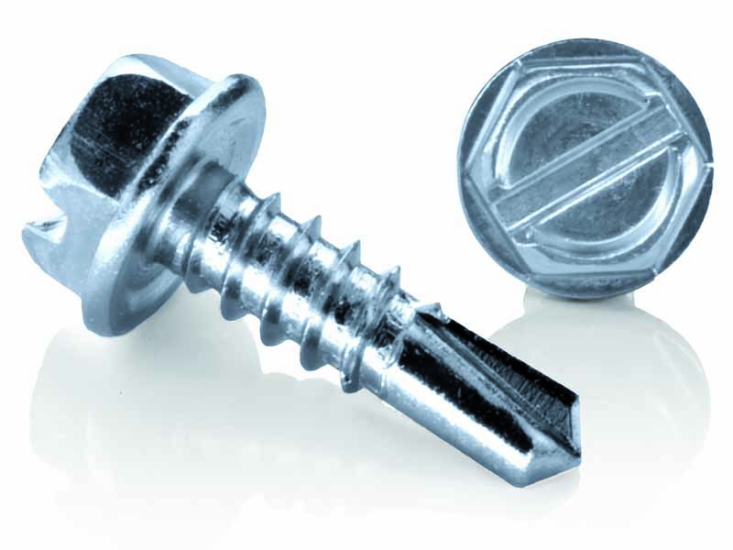
Let’s look at an example where we use a 1/4-20″ screw. These are the three things we’re going to look at from this 1/4-20″ screw:
- Included angle of countersink
- Major diameter at the top of the flathead screw
- Minor diameter at the bottom that’s going to be the through hole for that screw
For a 1/4-20″ screw you can look at this at a couple different websites online and you can also find this information on our guidelines for the 1/4-20″ flathead screw on our website.
The major diameter is .531″ which is the width or diameter of that countersink at the top
The minor diameter, which is the through hole for 1/4-20″ is a .255″ hole through
The included angle is going to be the same for all imperial flathead screws and that one is going to be 82 degrees. On a metric screw, it’s 90 degrees for an included angle. It’s important the difference between metric and imperial is mostly the included angle and then the determine factor is going to be what’s on the screw.
Lastly what’s not determined by the screw type is the material thickness you’re going to need applying the countersink to.
For the example in this video, we’re saying 1/2″ thick. That gives us plenty of room to put a countersink into it.
When you’re designing your part for countersinking, the minimum amount the countersink needs to sink into the part in order for the screw to be flat and flush upon the top is going to be the major diameter of your screw. The same diameter for the countersink needs to be the same as the screw to get it fully engaged.
Let’s talk about another example. If we thin up this part and go to an extreme and say we’re going to have a 30,000th thick part and it’s only this thin, the screw is going to stick far beyond in the countersink than the bottom of it, which is going to make it so we can’t fully tighten the screw and engage in the mating part on the top. This is the biggest thing to consider when designing for countersinking.
Fortunately, when you decide choose a material for your part and you select countersinking, we will not let you do a countersink on materials that are too thin. If our app won’t let you countersink your part, it may be because your material is too thin.
All of these considerations and more information are available on our countersinking guidelines.